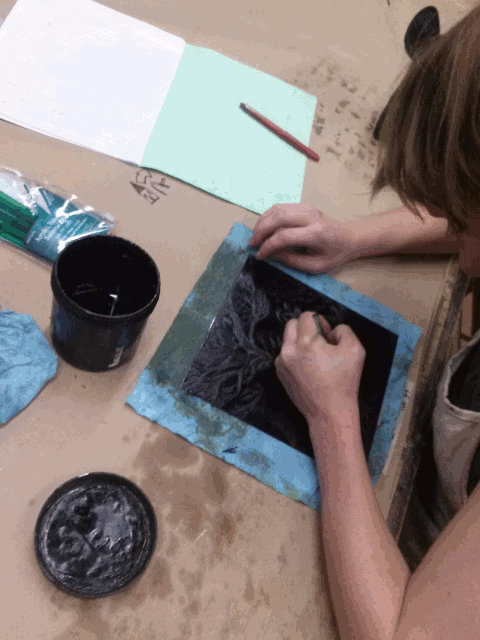
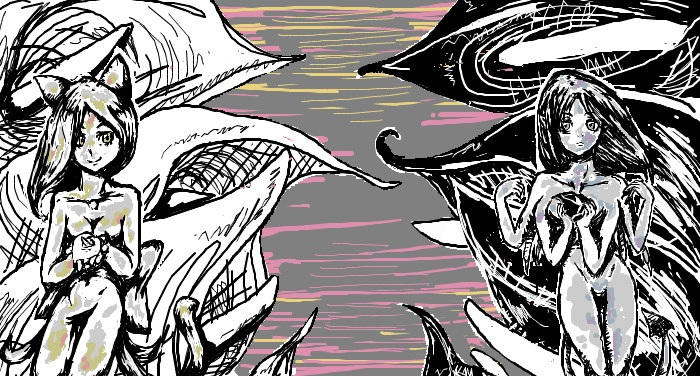
Traditional Art
Hi everyone, I'm back again for another Traditional Art Week!
I've done a couple tutorials in the past, but this time I'm gonna change it up a bit with an article encompassing a figure drawing class I attended recently over the summer. I'm not sure what the term for this is... a Drawlogue maybe?
As you can probably infer from the title, I used primarily ink during the four week class; in fact, it was the first time I've been encouraged to focus on ball point pen in an academic setting.
So here we go!
The tools featured here are:
- ball point pen
- ink wash and calligraphy brush
- sharpie marker
Day 1

This was my first time drawing the figure from life for an extended period of time (25 min) in about 5 years. For this drawing I chose to use ink with dry brush techniques to loosen up. When using ink, I like to use the wash (water with a bit of ink in it) to sketch in a gesture. The purpose of this is to get a handle on the volume and proportions of the figure before I really need to commit to anything.

A closer look at the dry brush.
Day 2

My strategy going in was mostly developed on my own. Even in my gestures i seek out contours and edges over all else. The resulting proportions tended to rely on my prior understanding of the figure, and my drawings appear rather flat. This technique works well enough on my own, but when I'm put under a time limit my figures tended to change scale suddenly and appeared a bit awkward...
Day 3

Seeking out the edges of planes within the figure rather than the shapes of the planes themselves lead to this proportional monstrosity. Had I looked for the over-all shape of a plane on the figure, like the light side of the thighs perhaps, I might have gotten their scale right. Instead I merely followed contours and ended up getting kind of lost...
Day 4

My teacher lent me a different type of ink to use for this day, and it didn't absorb into the paper quite as readily. I'm not that accustomed to working wet on wet, but this was my opportunity to learn I suppose.

Wet on wet can result in some interesting shapes and gradients, as the ink flows along any paths of water on the surface of the paper.

But it also doesn't take much to get away from you. Here I accidentally added too much ink to a wet area and it just took over.
Day 5

I feel like on this day I made a break though with my trusty zebra pen. I didn't have time to fully render the figure, but in this context it's fine.

The shadows are looking pretty complex, and reflected light shines through as well.
Day 6

I've started blocking in cast shadows and shapes where I see them, rather than merely following edges. This takes some time to get used to as you need to learn to trust yourself. It may seem like you're just following some random blob of value, but following enough value blobs and ambiguous planes will result in a resolved form.

The quality of this photo isn't fantastic, but I think it demonstrates this concept well enough. The figure is pretty clear despite the abstracted shapes within it.
Day 7

On this day I was given some copic markers to sketch with. I drew many gestures over each other, then did a longer pose over them. I found the perspective of this pose rather difficult. I got pretty anxious about it, even as a student with a bit more experience XD. At least I remembered to include a fair amount of the environment. (On a side note, I learned during this session that copic markers aren't actually archival at all, and will begin to fade as early as 6 months after the drawing is finished!)
Day 8

We really only drilled gestures on this day. Practicing gestures is a great way to improve speed as well as helping with proportion. There are many different ways to go about drawing a gesture; here I used a couple well known techniques. The head is done mostly by blocking in shadows, the leg on the left is a simple line gesture, and the other leg is built using a scribble gesture.
Day 9
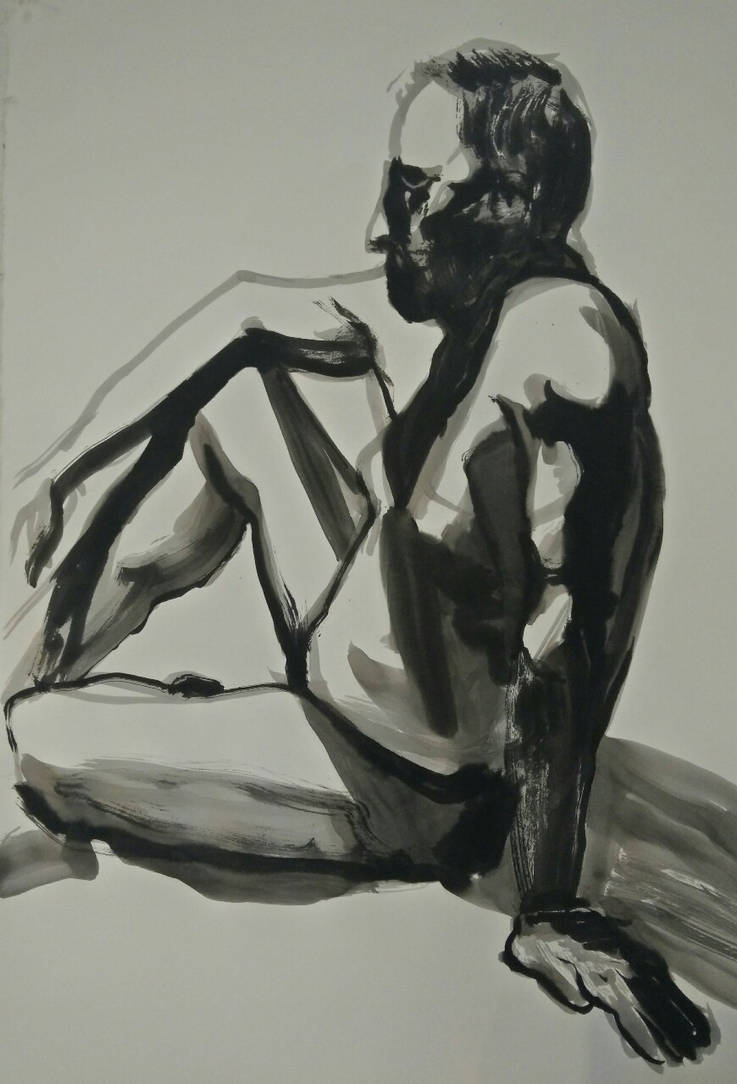
Sometimes carrying too much weight or moving heavy objects hurts my upper back, and for some reason this also compromises my left arm and wrist. It was hurting me a lot during this session, so I had to use my non-dominant hand instead. Drawing larger and while standing up helps if you're trying to use your non-dominant hand, as the shoulder is more important than the wrist for guidance and stability.
Day 10

Sharpies! My other love besides zebra pens. My teacher didn't really approve since in his mind sharpie as a medium dominates the drawing and forces it into a limited category, or genre... (Too graphic/illustrative bluh bluh) But I disagree!
I use the tool for how good it feels to draw with, not for whatever connotations you may have with it! Fight the power!!! >:0
Day 11

I really got into a good flow at this point. Finding more time to render the details.
Day 12

Tried focusing only on the face. This was kind of an off day though I think... I did a fair job showing the planes and structure of the face however.
Day 13

The last model was a newbie, and her poses were a bit stiff and awkward, but I still enjoyed trying to find effective ways to render her muscle mass in marker.

Cross contour lines are effective for showing volume and direction, as well as shading.

This was my first time drawing the figure from life for an extended period of time (25 min) in about 5 years. For this drawing I chose to use ink with dry brush techniques to loosen up. When using ink, I like to use the wash (water with a bit of ink in it) to sketch in a gesture. The purpose of this is to get a handle on the volume and proportions of the figure before I really need to commit to anything.
The grey under the lines is my wash.
Here I used it to find where the shoulder
rested against the collar.
Here I used it to find where the shoulder
rested against the collar.

A closer look at the dry brush.
Day 2

My strategy going in was mostly developed on my own. Even in my gestures i seek out contours and edges over all else. The resulting proportions tended to rely on my prior understanding of the figure, and my drawings appear rather flat. This technique works well enough on my own, but when I'm put under a time limit my figures tended to change scale suddenly and appeared a bit awkward...
Day 3

Seeking out the edges of planes within the figure rather than the shapes of the planes themselves lead to this proportional monstrosity. Had I looked for the over-all shape of a plane on the figure, like the light side of the thighs perhaps, I might have gotten their scale right. Instead I merely followed contours and ended up getting kind of lost...
Day 4

My teacher lent me a different type of ink to use for this day, and it didn't absorb into the paper quite as readily. I'm not that accustomed to working wet on wet, but this was my opportunity to learn I suppose.

Wet on wet can result in some interesting shapes and gradients, as the ink flows along any paths of water on the surface of the paper.

But it also doesn't take much to get away from you. Here I accidentally added too much ink to a wet area and it just took over.
Day 5

I feel like on this day I made a break though with my trusty zebra pen. I didn't have time to fully render the figure, but in this context it's fine.

The shadows are looking pretty complex, and reflected light shines through as well.
Day 6

I've started blocking in cast shadows and shapes where I see them, rather than merely following edges. This takes some time to get used to as you need to learn to trust yourself. It may seem like you're just following some random blob of value, but following enough value blobs and ambiguous planes will result in a resolved form.

The quality of this photo isn't fantastic, but I think it demonstrates this concept well enough. The figure is pretty clear despite the abstracted shapes within it.
Day 7

On this day I was given some copic markers to sketch with. I drew many gestures over each other, then did a longer pose over them. I found the perspective of this pose rather difficult. I got pretty anxious about it, even as a student with a bit more experience XD. At least I remembered to include a fair amount of the environment. (On a side note, I learned during this session that copic markers aren't actually archival at all, and will begin to fade as early as 6 months after the drawing is finished!)
Day 8

We really only drilled gestures on this day. Practicing gestures is a great way to improve speed as well as helping with proportion. There are many different ways to go about drawing a gesture; here I used a couple well known techniques. The head is done mostly by blocking in shadows, the leg on the left is a simple line gesture, and the other leg is built using a scribble gesture.
Day 9

Sometimes carrying too much weight or moving heavy objects hurts my upper back, and for some reason this also compromises my left arm and wrist. It was hurting me a lot during this session, so I had to use my non-dominant hand instead. Drawing larger and while standing up helps if you're trying to use your non-dominant hand, as the shoulder is more important than the wrist for guidance and stability.
Day 10

Sharpies! My other love besides zebra pens. My teacher didn't really approve since in his mind sharpie as a medium dominates the drawing and forces it into a limited category, or genre... (Too graphic/illustrative bluh bluh) But I disagree!
I use the tool for how good it feels to draw with, not for whatever connotations you may have with it! Fight the power!!! >:0
Day 11

I really got into a good flow at this point. Finding more time to render the details.
Day 12

Tried focusing only on the face. This was kind of an off day though I think... I did a fair job showing the planes and structure of the face however.
Day 13

The last model was a newbie, and her poses were a bit stiff and awkward, but I still enjoyed trying to find effective ways to render her muscle mass in marker.

Cross contour lines are effective for showing volume and direction, as well as shading.
Final Thoughts
Figure drawing classes and workshops are a great exercise regardless on one's skill level. I've found that my ability to sketch figures from my imagination has really increased. When doodling at home I found that not only am I a lot quicker now, but I don't need to stop my flow quite as often to make corrections. That said, drawing from life (especially drawing live models) is very much like practicing a sport, or working out. If you don't keep it up you will gradually lose the skills you've built up. Continuing the sports analogy, you may retain basic form after a long hiatus, but your strength and endurance will be greatly diminished. With drawing from life, if you take too long of a break your spacial reasoning skills and muscle memory can atrophy.
Over the course of the class I learned to asses shadows and transpose subtle shapes to paper more efficiently, and my figures became more specific. That is, I learned to exaggerate features to better represent the model.
My goal going into this was more to further develop my own style rather than learning how to represent a natural looking human figure on paper. I'm not really sure if I succeeded in that goal... Growing into an individual style is so gradual I'm not even sure it's discernible... Sometimes the work I see online is so amazing I feel overwhelmed... Could I ever achieve a successful and unique style of my own? How far have I even come? Is this goal within reach or far away on the horizon?
But I digress... On the final day we each selected some of our work and discussed how we've grown and what we should work towards in the future.


Here are two of the images we looked at. Where I started, and where I ended up. Ironically enough, the first drawing was better received by both the teacher and the rest of the class. They believed it was closer to where I should be in terms of artistic expression. I don't think that necessarily means I shouldn't have bothered learning everything that I did though. After all, one must first learn the rules before they go about breaking them. ;>
I feel more encouraged now than ever to work almost exclusively in line, and will apply this to printmaking in a big way next semester.
(I've always looked up to the old masters more than the contemporary hot-shots anyway )
)
A more personal challenge I've taken from this experience is figuring out how to apply it to my digital art. Unfortunately there aren't many peers or instructors at my school who share the expertise to help guide me in this matter... Then again, this might be something I should be working out on my own anyway. Who knows, maybe someday I'll figure out a way to reconcile my traditional, somewhat academic style with the more graphic types of things I tend to to digitally...
Anyway, I hope you guys enjoyed the article; and that it wasn't too personal for a Traditional Art Week topic. :>
Also, feel free to take a look at my previous tutorials: Etching, and Ink drawing.
And you can see more drawings from this class on my tumblr.
Thanks for reading.
Questions and comments are always welcome;
What sorts of art development challenges have you faced?
How important has figure drawing been during your journey?
Let me know in the comments.
Over the course of the class I learned to asses shadows and transpose subtle shapes to paper more efficiently, and my figures became more specific. That is, I learned to exaggerate features to better represent the model.
My goal going into this was more to further develop my own style rather than learning how to represent a natural looking human figure on paper. I'm not really sure if I succeeded in that goal... Growing into an individual style is so gradual I'm not even sure it's discernible... Sometimes the work I see online is so amazing I feel overwhelmed... Could I ever achieve a successful and unique style of my own? How far have I even come? Is this goal within reach or far away on the horizon?
But I digress... On the final day we each selected some of our work and discussed how we've grown and what we should work towards in the future.


Here are two of the images we looked at. Where I started, and where I ended up. Ironically enough, the first drawing was better received by both the teacher and the rest of the class. They believed it was closer to where I should be in terms of artistic expression. I don't think that necessarily means I shouldn't have bothered learning everything that I did though. After all, one must first learn the rules before they go about breaking them. ;>
I feel more encouraged now than ever to work almost exclusively in line, and will apply this to printmaking in a big way next semester.
(I've always looked up to the old masters more than the contemporary hot-shots anyway
A more personal challenge I've taken from this experience is figuring out how to apply it to my digital art. Unfortunately there aren't many peers or instructors at my school who share the expertise to help guide me in this matter... Then again, this might be something I should be working out on my own anyway. Who knows, maybe someday I'll figure out a way to reconcile my traditional, somewhat academic style with the more graphic types of things I tend to to digitally...
Anyway, I hope you guys enjoyed the article; and that it wasn't too personal for a Traditional Art Week topic. :>
Also, feel free to take a look at my previous tutorials: Etching, and Ink drawing.
And you can see more drawings from this class on my tumblr.
Thanks for reading.
Questions and comments are always welcome;
What sorts of art development challenges have you faced?
How important has figure drawing been during your journey?
Let me know in the comments.


